

Smart Garden: Soil, Light and Water Monitoring
How I built a small ESP32 smart garden to monitor soil moisture, light, and water, then irrigate a few balcony plants without turning the project into a tangle of wires.
Share
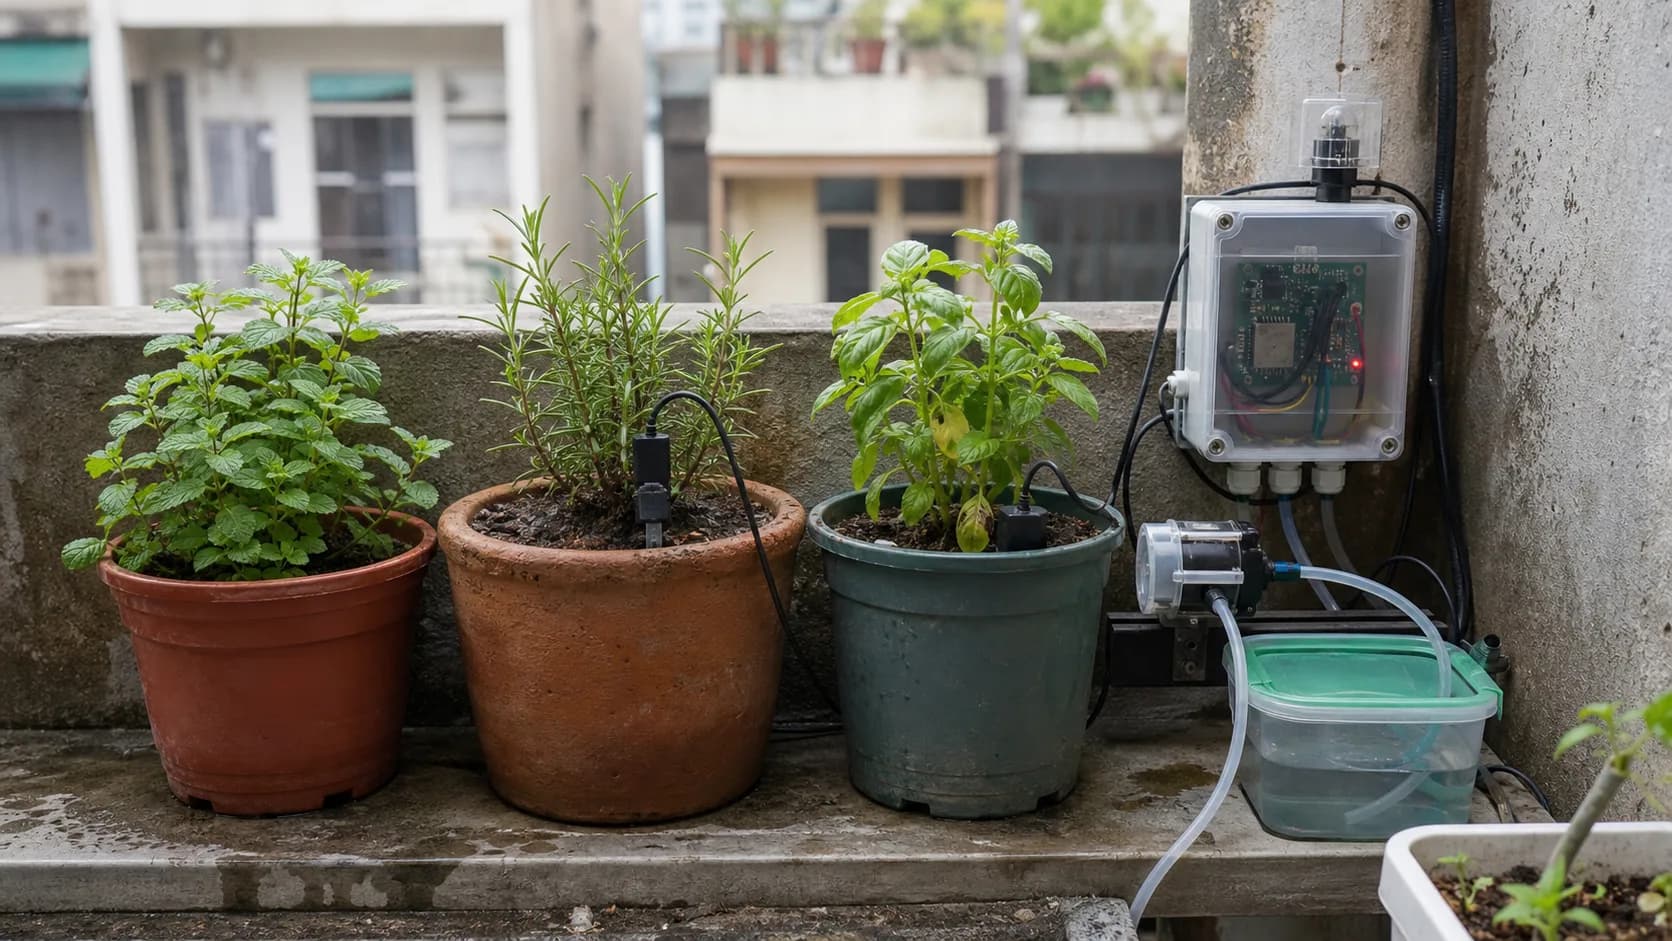
If you build a similar system, I recommend calibrating it on your actual pots before letting the pump run unattended.
A few pots of herbs on a balcony make a surprisingly good IoT project. They are close enough to check every day, yet easy to forget for a few days when work gets busy. When I first thought about a “smart garden,” I wanted many sensors and a polished dashboard. After trying it, three questions mattered much more: is the soil actually dry, how much light does the plant receive, and did the last watering cycle finish safely?
This is how I put those three questions into one small ESP32 system. It suits a few pots on a balcony or windowsill, not a whole garden. The goal is to learn the plants' routine, water with limits, and keep a manual way to step in.
The MVP I would build
| Block | Practical choice for 2–4 pots |
|---|---|
| Controller | ESP32-C3 or ESP32 DevKit |
| Soil | One 3.3 V capacitive probe per pot |
| Light | BH1750 over I2C, mounted near the leaves |
| Water level | Magnetic float switch or another switch-type level sensor |
| Watering | 5 V peristaltic or small submersible pump, switched by a MOSFET |
| Connection | MQTT to Home Assistant, or a local web page |
| Power | Isolated DC adapter; suitable rails for pump and ESP32 with common ground |
For a few small pots, I like a peristaltic pump because water touches only the tube, flow is easy to estimate, and it is less likely to keep siphoning after power is removed. A submersible pump is cheaper, but it needs a minimum water level and careful tube routing.
The BH1750 reports illuminance in lux and is easier to compare over time than a bare photoresistor. Lux follows human visual sensitivity, however, so it is not a replacement for a proper PAR sensor. In a small balcony garden, I use it to compare locations and hours of light across days, not to diagnose a plant from one magic number.
Calibrate soil before enabling the pump
A capacitive probe is preferable to two exposed metal prongs because it does not pass DC directly through the soil. It is still not a fit-and-forget sensor: the electronics at the top must remain above the soil, dry, and protected from rain.
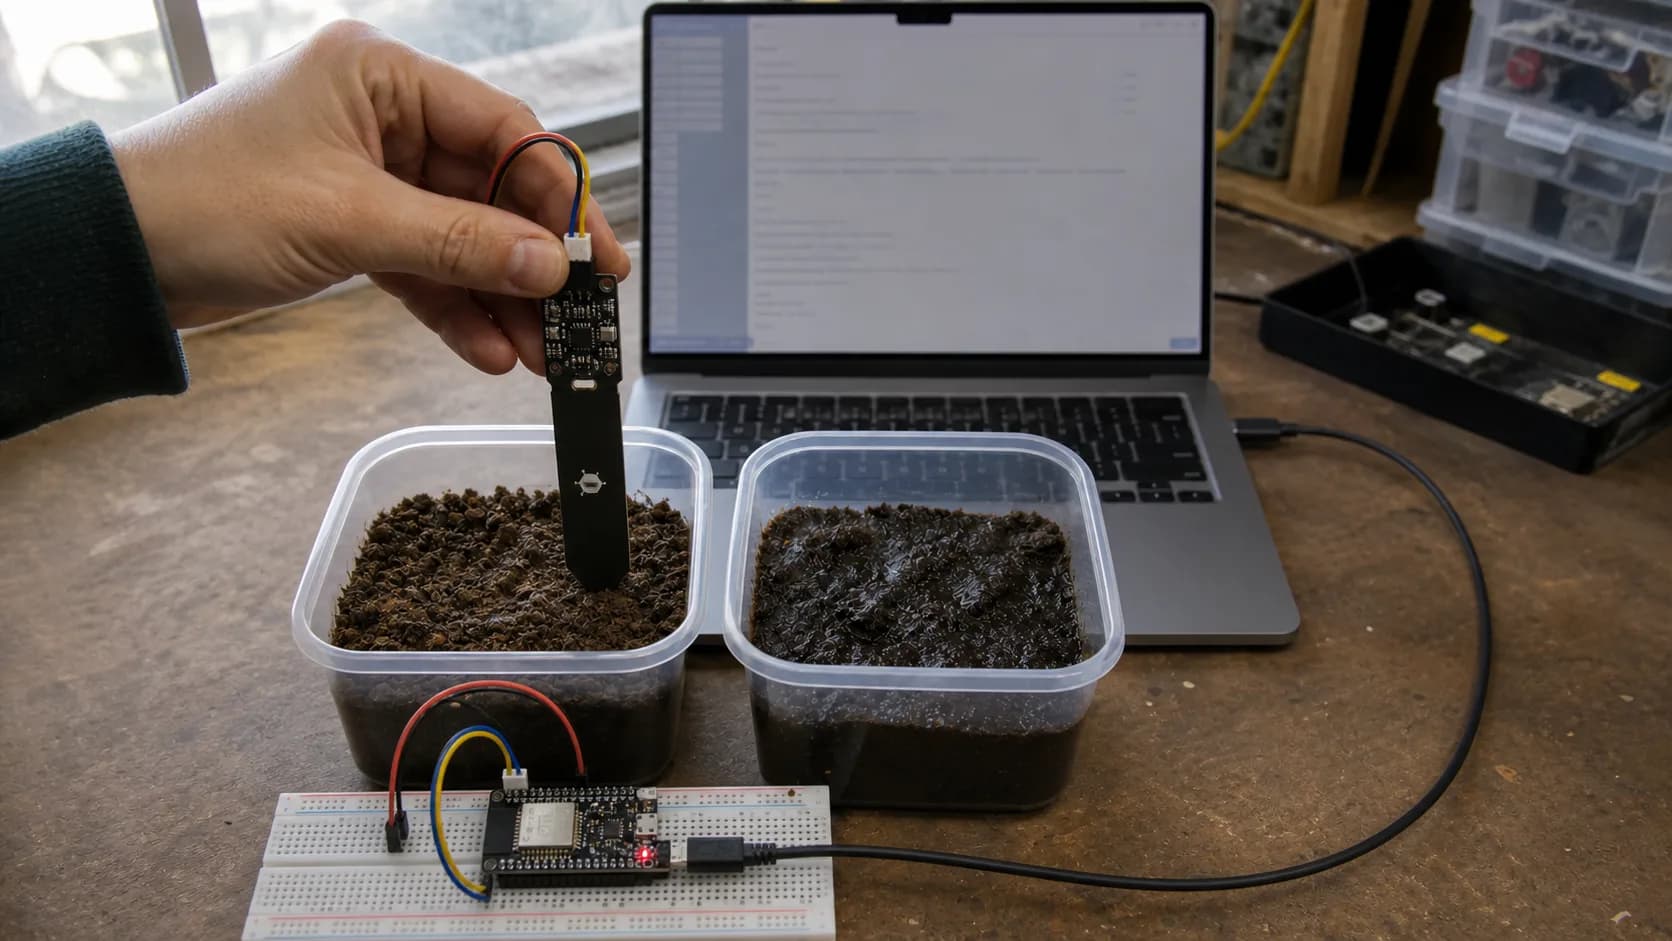
Do not trust the percentage from a sample sketch. I record dry and wet endpoints using the same soil, pot, and sensor that will be used in the garden.
My calibration is deliberately simple:
- Insert the probe to its intended depth in dry soil, wait for the value to settle, then average 20–30 samples. Save this as
rawDry. - Water the same soil evenly until it is wet but not muddy or flooded. Let water spread, then record
rawWet. - Map ADC readings to a relative 0–100% scale and clamp the result.
- Put the probe in the real pot, watch several drying and watering cycles, then choose a threshold for that plant.
int soilPercent(int raw, int rawDry, int rawWet) {
  int value = map(raw, rawDry, rawWet, 0, 100);
  return constrain(value, 0, 100);
}
On the original Wi-Fi ESP32, I prefer an ADC1 pin. Espressif's hardware guidelines recommend ADC1 over ADC2 while Wi-Fi is active and suggest a 0.1 µF capacitor from the ADC input to ground to improve accuracy. Firmware should also take several samples, reject obvious outliers, and average the rest.
With multiple pots, every probe gets its own rawDry/rawWet pair. Two identical-looking sensors can differ substantially. Sharing calibration points makes the dashboard look consistent, not the measurement.
Watering logic: less clever, more dependable
I do not let one low sample start the pump. A small state machine is easier to trust:
MONITOR
  soil stays below its threshold for 3 readings
  + reservoir is not empty
  + current time is inside the watering window
  -> WATER

WATER
  run the pump for 5–10 seconds
  -> SOAK

SOAK
  wait 10–20 minutes for water to spread
  measure again; allow at most one extra cycle if still dry
  -> MONITOR or LOCKOUT
The SOAK delay matters. If the controller watches the probe while pumping, water may not have reached it yet, and the system can overshoot badly. I also cap the total pump time or cycle count per day. When that limit is reached, the device locks watering and sends an alert instead of trying to rescue a potentially bad reading.
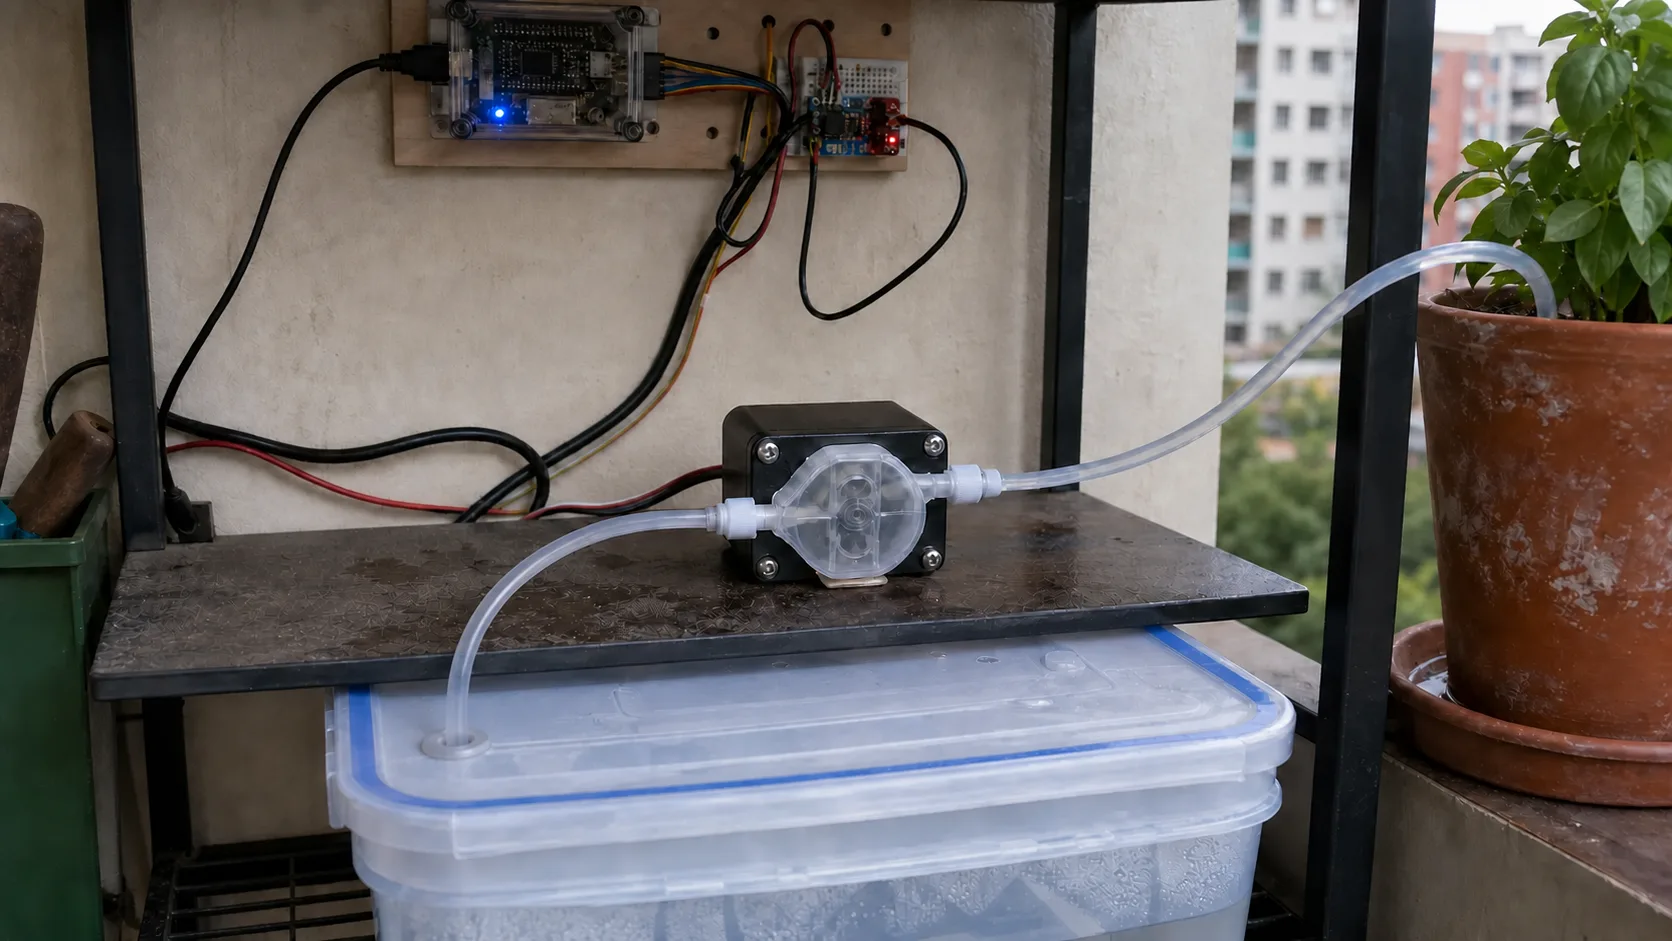
The pump and reservoir stay below the electronics. A watering time limit and a low-water sensor provide simple protection when the reservoir runs dry.
A GPIO must not power the pump directly. For a small DC pump, I use a logic-level MOSFET, flyback diode, gate pulldown, and a supply that can handle startup current. A relay can work, but a mechanical relay is noisy, consumes more power, and can inject switching noise into nearby I2C and ADC wiring.
My non-negotiable stop conditions are:
- Do not start if the low-water switch says the reservoir is empty.
- Give every run a local timeout, even when the app or MQTT connection disappears.
- Initialize the pump output to OFF immediately after reset.
- Apply the timeout in manual mode too; an “ON” command never means forever.
- Mount electronics above the reservoir, add drip loops, and avoid upward-facing connectors.
For indoor pots, I run the system in a catch tray for several days. A beautiful dashboard will not expose a loose tube as quickly as a dry tray after 20 test cycles.
Make the light reading useful
Place the BH1750 close to leaf height with a similar view of the sky or lamp. If the sensor sits under an awning while the plant reaches into direct sun, it measures the awning. Leaving a breakout board bare in the rain is no better; a small clear, ventilated hood is enough for a prototype.
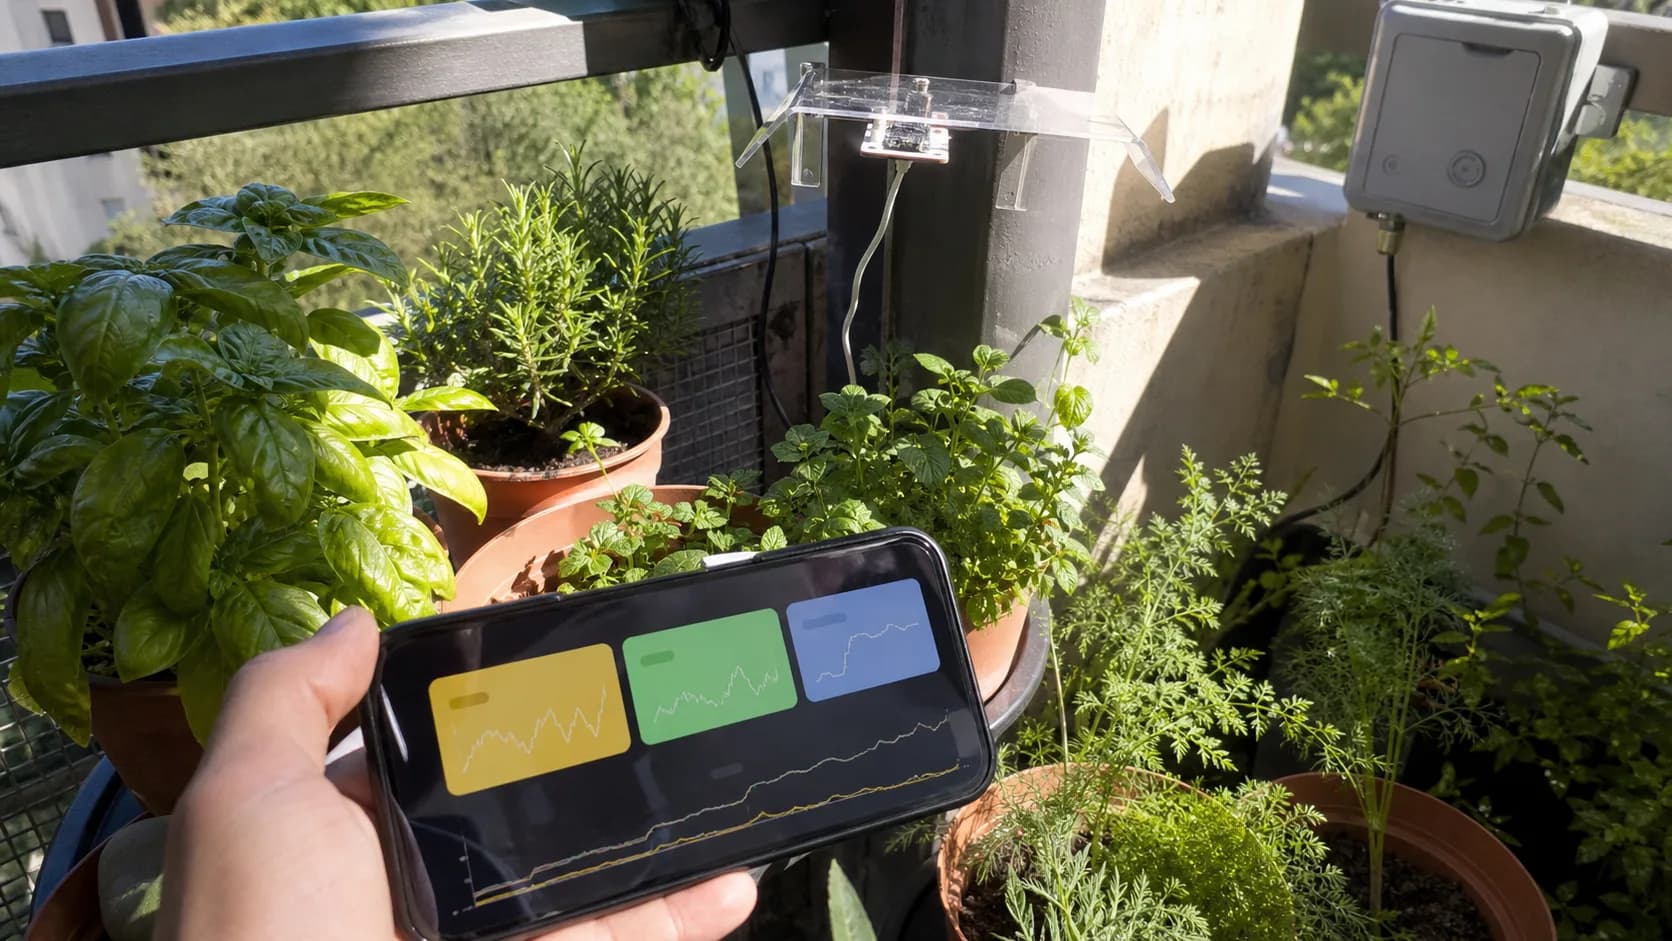
Lux becomes useful as a multi-day trend. A single reading is rarely enough to decide that a plant needs more light.
Instead of sending a “low lux” alert whenever a cloud passes, I sample on a schedule and calculate a relative daily light total. The dashboard only needs three views:
- Soil-moisture curves per pot with pump events marked on the timeline.
- A lux curve that reveals which pot receives only morning sun.
- Reservoir state, today's pump runtime, and the latest alert.
The MQTT payload can stay small:
{
  "soil": { "basil": 46, "mint": 58 },
  "light_lux": 12400,
  "tank_ok": true,
  "pump_ms_today": 8000,
  "state": "soak"
}
If the node loses its network, sensing and safety limits must continue locally. MQTT is for history, display, and requests; the cloud should never be in the pump's stop path.
A sensible sampling rhythm
Soil changes slowly, so one reading every 5–15 minutes is normally enough. With wall power, light can be sampled every minute and summarized before transmission. Watering is the exception: while the pump runs, a safety task must track its timeout continuously and must not block on Wi-Fi.
Deep sleep makes a large difference in a solar build such as Plantwatery. For my first prototype, I still use an isolated adapter and continuous logging. I optimize the battery or design a custom PCB only after the thresholds, pump flow, and sensor placement are stable.
Checklist before unattended use
- Calibrate each probe in the same soil and pot it will monitor.
- Drop Wi-Fi, reset the ESP32, and disconnect MQTT during tests; confirm the pump still stops.
- Pump into a measuring cup ten times to estimate real milliliters per second.
- Simulate an empty reservoir and a disconnected soil probe.
- Keep the probe electronics dry, rain-covered, and ventilated.
- Log for at least one week without automatic watering first.
- Limit both the number of cycles and total pump runtime per day.
I consider the first version successful when it can answer “which pot dries fastest, and which corner gets too little sun,” even before it waters anything. Once the data agrees with what I see by hand, enabling the pump is a small next step. That order costs an extra afternoon, but it is less likely to turn a slightly dry plant into a flooded balcony.
References
Share
Keep exploring
Read next
Related articles
A smart thermostat that learns how your room warms up
Notes on building an ESP32 smart thermostat that learns a room's heating rate, starts at the right time, and keeps safety control local.
mmWave Radar: Motion, Gesture, and Presence Detection
Practical notes on separating motion, gesture, and presence detection, choosing the right mmWave radar module, and building an ESP32 prototype that is easy to tune.
Deep Dive: BLE Communication for IoT Devices
A practical guide to reliable BLE communication for IoT devices, covering GATT, packets, MTU, notifications, reconnection, security, and power with ESP32 NimBLE.