

A smart thermostat that learns how your room warms up
Notes on building an ESP32 smart thermostat that learns a room's heating rate, starts at the right time, and keeps safety control local.
Share
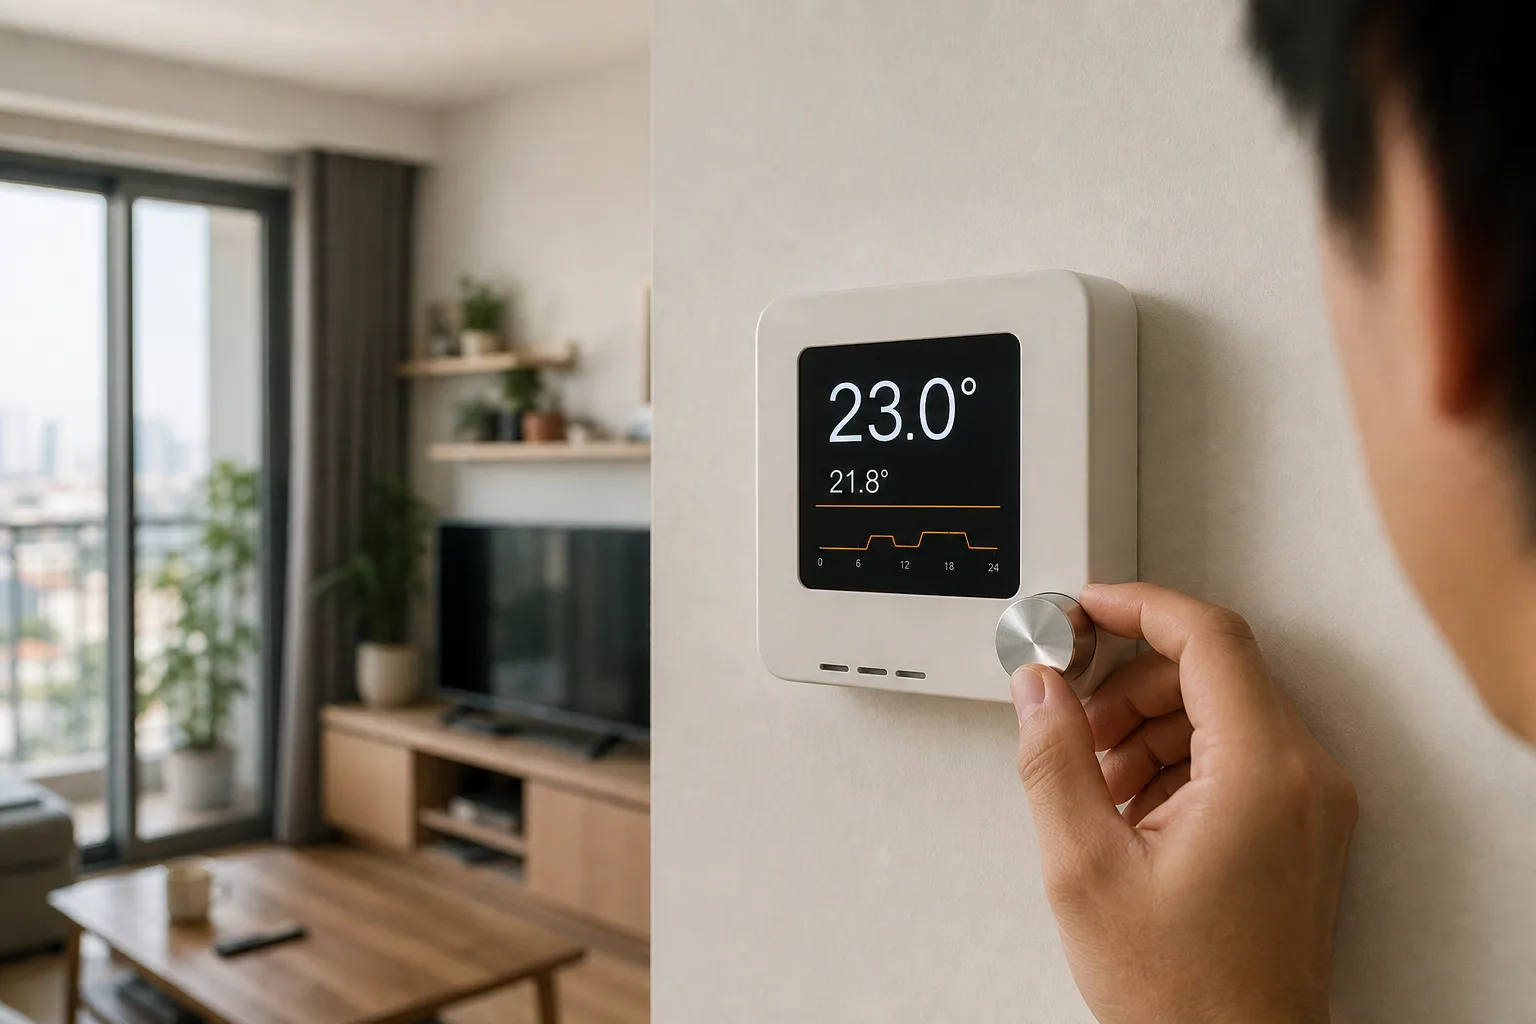
I used to schedule the heater for 6:30 and call that smart enough. On a cold morning, the room was still chilly at 7:00; on a sunny one, the heater ran nearly half an hour longer than needed. The useful thing to learn is not a fixed schedule. It is how long this room takes to move from its current temperature to the temperature I want.
This is how I would build a small smart thermostat with an ESP32, ESPHome, and Home Assistant. The learning part is deliberately modest: estimate the room's real heating or cooling rate, then calculate when to start. Basic temperature control remains local even if Wi-Fi or Home Assistant disappears.
What does the thermostat actually learn?
I split the system into two layers:
- A safety controller reads the sensor, switches the HVAC using hysteresis, and enforces minimum run and rest times.
- A learning layer observes previous cycles and predicts how many minutes early to start. It is never allowed to bypass the first layer's limits.
That separation matters more than the choice of algorithm. A poor prediction may leave the room cool for a few extra minutes; it must not make a relay chatter or restart a compressor too quickly.
Hardware for a practical MVP
A compact first build can use:
- An ESP32-C3 or ESP32-S3.
- An SHT40/SHT41 temperature and humidity sensor.
- A small display and rotary encoder for local control.
- A properly rated, isolated dry-contact or HVAC interface for the actual system.
- A certified supply, fuse, and enclosed terminals wherever mains voltage is present.
Sensor placement has an outsized effect on the learned data. I keep it away from windows, direct sunlight, HVAC airflow, and the warm ESP32 board. If the enclosure heats the sensor by 1-2 °C, the algorithm will diligently learn from the wrong number.
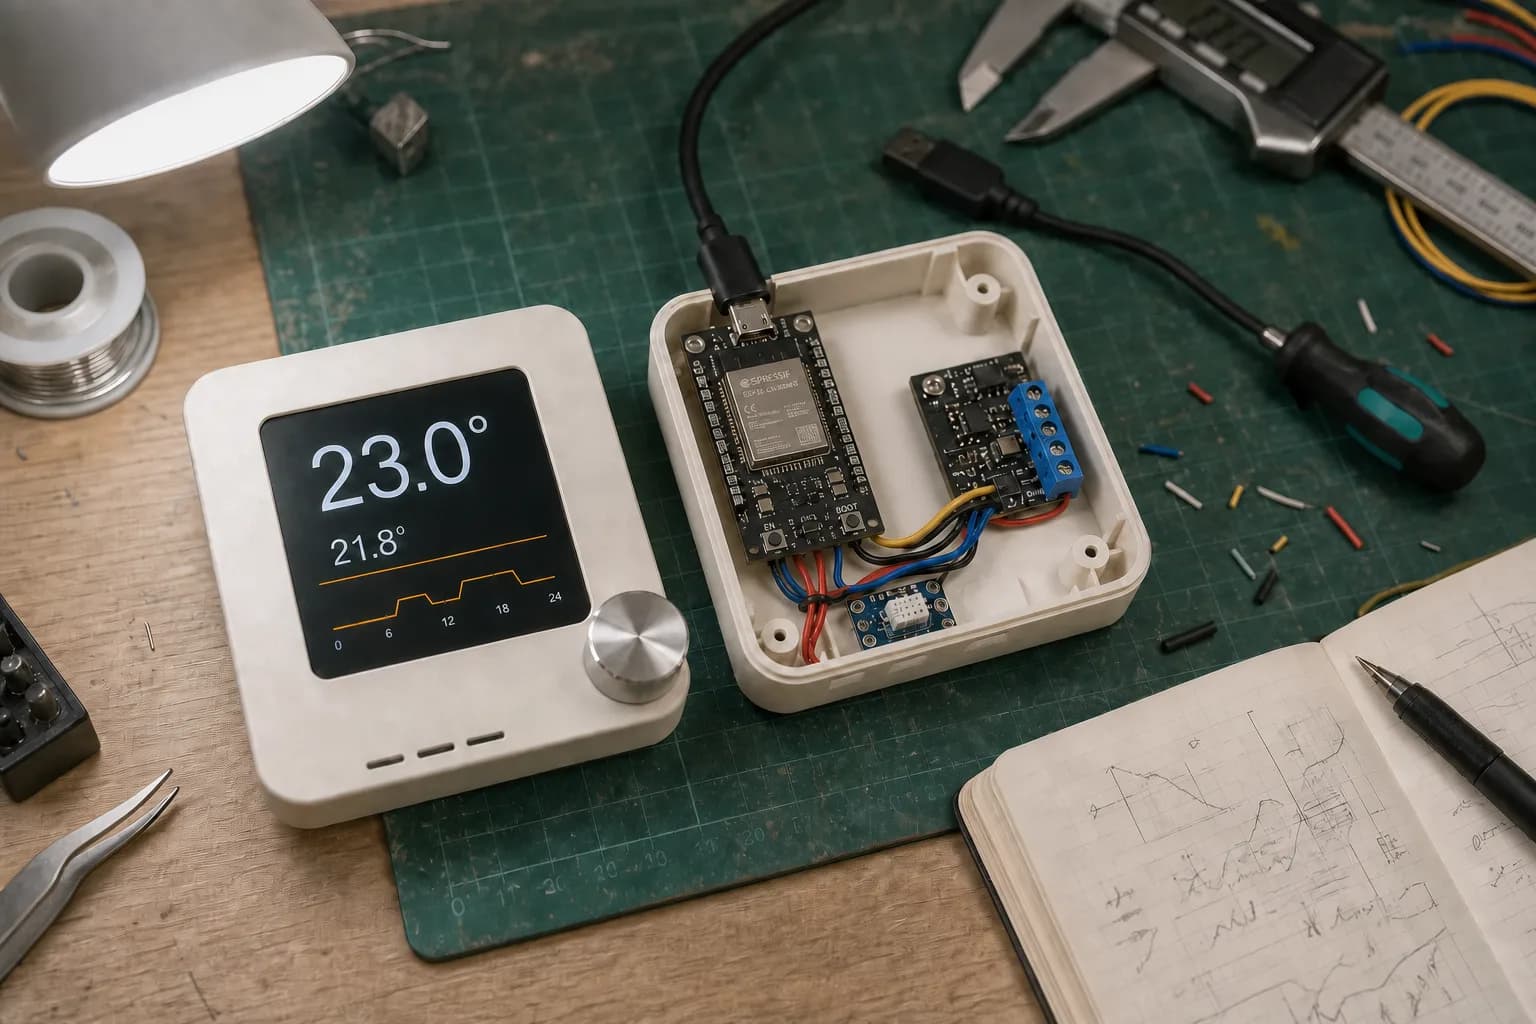
Keep the safety controller local; learned data should only suggest when heating needs to start earlier.
For a boiler, heat pump or mains-powered air conditioner, a breadboard belongs only on the low-voltage test bench. The installed version needs a rated interface and a qualified person to check the wiring. This is not where I would save a few components.
Keep the base controller boring
ESPHome's thermostat climate controller behaves like a bang-bang controller. I would begin with heating mode, hysteresis, and explicit minimum times:
climate:
  - platform: thermostat
    name: "Room Thermostat"
    sensor: room_temperature
    min_heating_off_time: 300s
    min_heating_run_time: 300s
    min_idle_time: 30s
    heat_deadband: 0.3
    heat_overrun: 0.2
    heat_action:
      - switch.turn_on: hvac_dry_contact
    idle_action:
      - switch.turn_off: hvac_dry_contact
    preset:
      - name: Home
        default_target_temperature_low: 22 °C
      - name: Away
        default_target_temperature_low: 17 °C
Those values are only a starting point. A compressor normally needs different protection from a boiler, so the real equipment documentation wins. Home Assistant's Generic Thermostat is another approachable baseline with a temperature sensor, switch, tolerances, and a minimum cycle duration.
Learn the room's own heating rate
Every 1-5 minutes, I record room temperature, target, HVAC state, outdoor temperature, and whether a window is open. Only a clean cycle contributes to learning: the sensor is valid, windows stay closed, the setpoint is not changed halfway through, and the system runs long enough.
After a heating cycle, I calculate a sample rate:
sample_rate = (temperature_end - temperature_start) / duration_hours
learned_rate = 0.8 × learned_rate + 0.2 × sample_rate
This weighted moving average is not magic AI. It simply prevents one open door or unusually sunny afternoon from rewriting the result. Once the estimate is usable, the start lead time becomes:
lead_minutes = clamp(
  60 × abs(target - current) / max(learned_rate, 0.1),
  0,
  90
)
If the room is at 19 °C, the target is 22 °C, and the learned rate is 2 °C per hour, heating should begin about 90 minutes early. I still cap it at 90 minutes so one bad sample cannot pull the schedule too far.
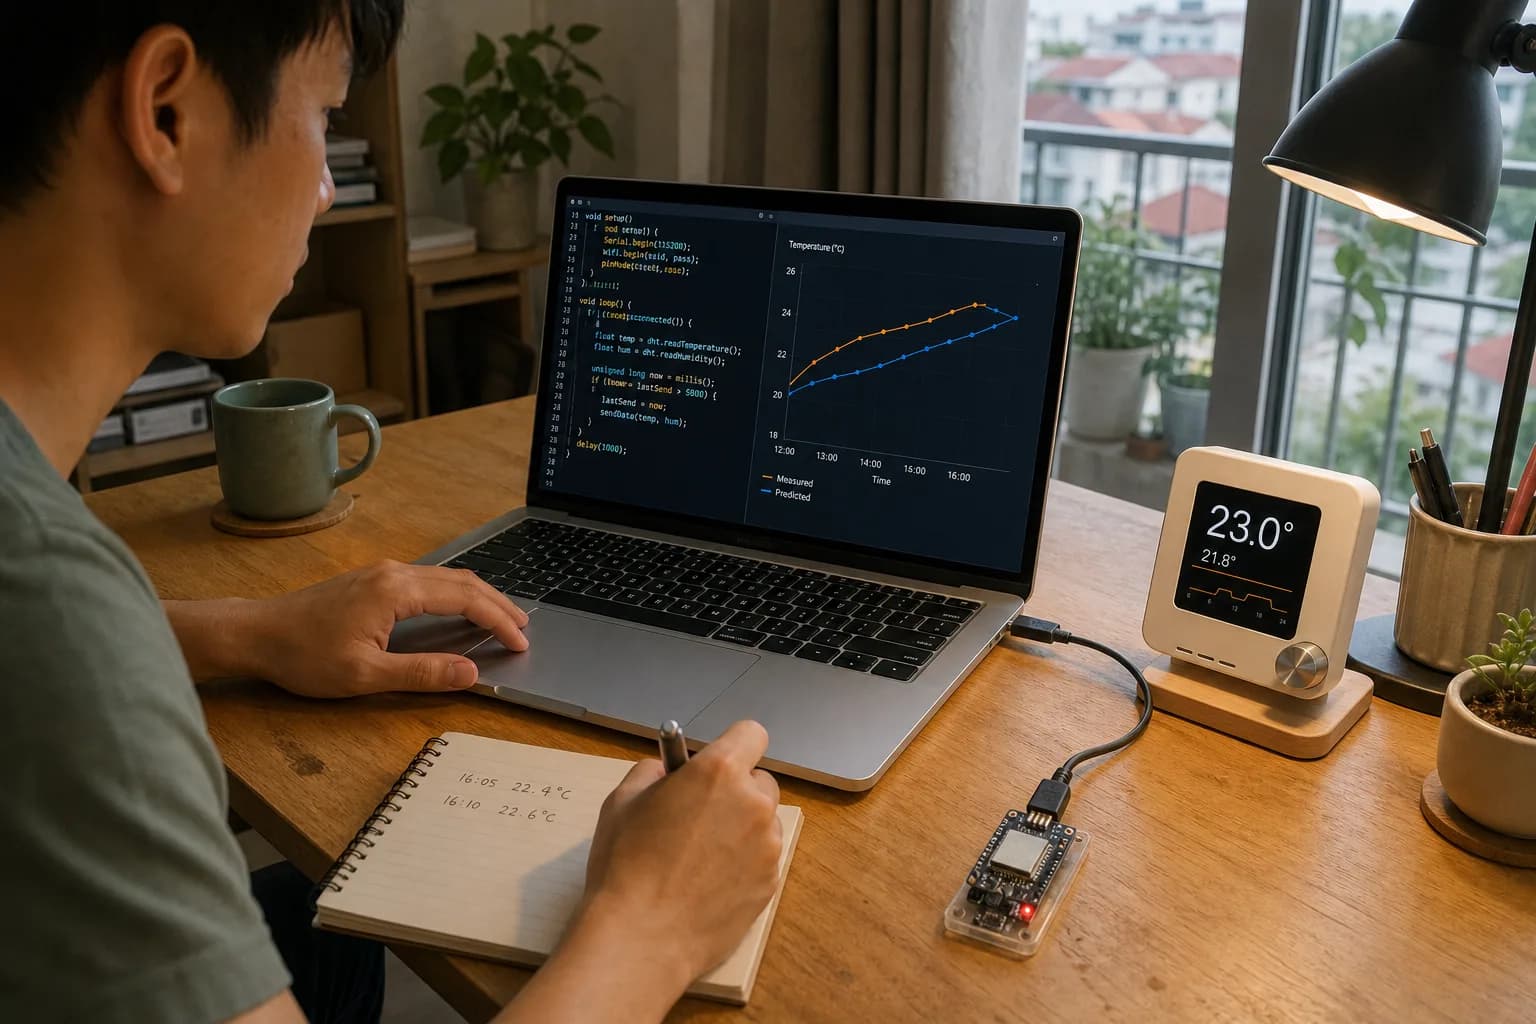
A temperature-over-time chart reveals how quickly the room warms under different conditions.
For a small improvement, the controller can keep separate rates for a few outdoor-temperature bands, such as below 10 °C, 10-20 °C, and above 20 °C. I would not rush into a complex model. Three buckets are easy to inspect, easy to debug, and often useful enough for one room.
Learn habits without becoming annoying
Start lead time and household schedule are separate problems. For the schedule, I record manual setpoint changes in 30-minute slots and keep weekdays separate from weekends. The thermostat only suggests a new schedule after the same pattern appears at least three times.
During week one, I only log data. In week two, the dashboard can say something like “this room usually needs 38 minutes to reach 22 °C.” Once that estimate settles, automation may start early within a fixed limit. Every suggestion still needs an ignore action, a learning toggle, and a way back to a plain schedule.
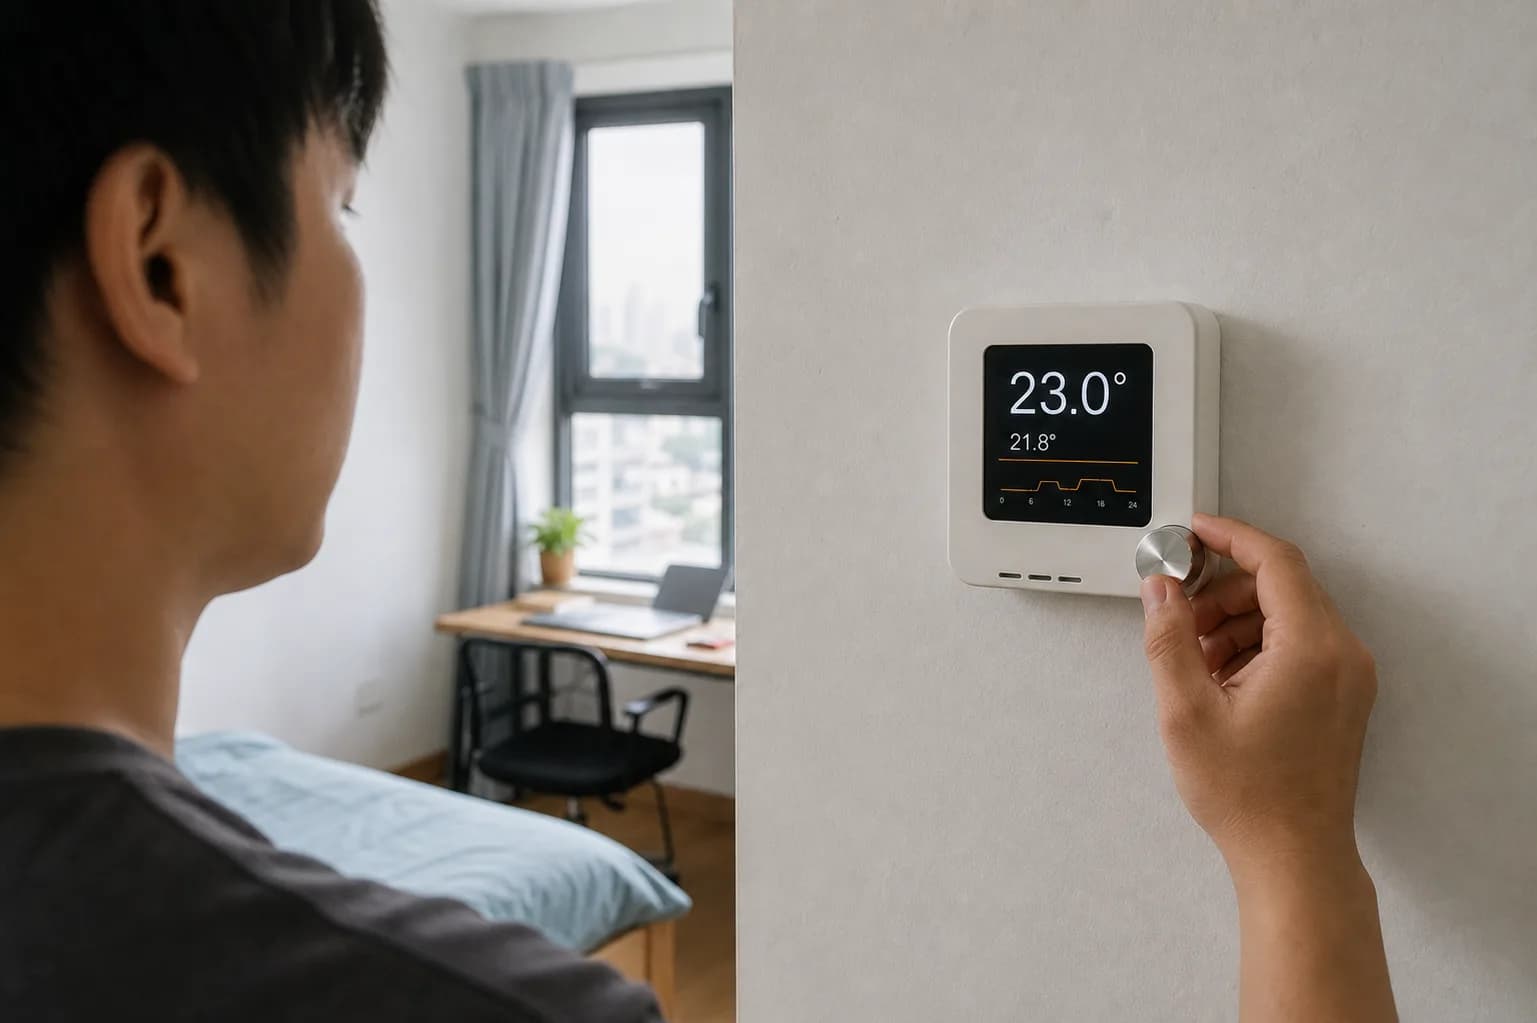
The physical control and manual mode stay available; learning should never take control away from the user.
A presence sensor can choose between Home and Away, but I would not lower the target after a few quiet minutes. A 20-30 minute delay is more reasonable, especially when someone is sleeping or sitting still. This problem does not need a camera.
Checks before trusting it
- Sensor unavailable: disable learning, return the relay to its defined safe state, and report the fault.
- Window open: discard that learning cycle; optionally pause heating after a sensible delay.
- Rapid relay changes: inspect every state transition and revisit the
min_*_timesettings. - Unstable predictions: reduce the new-sample weight or only update after cycles longer than 15 minutes.
- Frequent manual adjustments: treat them as evidence that the schedule is wrong, not as noise to discard.
I would run the first version in log-only mode for at least a week. A good thermostat does not need to look clever all day. It needs to make the room comfortable on time, protect the equipment, and always let me take over with the physical control.
References
Share
Keep exploring
Read next
Related articles
A camera-free desk clock that indicates sleep quality
Notes for an ESP32 bedside clock that uses CO2, temperature, light, and bed presence to explain why a night felt off, without putting a camera in the bedroom.
A fridge and freezer temperature alert device for power outages
Notes for a small ESP32 box with two DS18B20 probes and Home Assistant alerts, meant to catch a warming fridge or freezer after a power outage.
A Vietnamese voice remote for local Home Assistant control
Notes for building an ESP32-S3 voice remote with ESPHome and a local Home Assistant Assist pipeline so Vietnamese voice commands can stay inside the home network.